Background
I thought of this idea as I was watching my wife’s family home videos back from when old school camcorders were popular. To get the videos to play, we would have to drag out the VHS player, connect the Composite RCA cables to an HDMI adapter (because no TVs nowadays have an input for RCA), rewind the VHS casette, and hopefully these 20+ year old videos would play. This made me think it’d be great if I could digitize these videos and make them available for our family to watch anytime. Furthermore, even though those days of video recording using camcorders are behind us, as a father-to-be (with an Android phone) sharing videos can sometimes be a bit of a pain. There had to be a solution out there that could make these new and old videos easily accessible to all members of our family. Fortunately, there was a perfect solution - a NAS appliance and after some research, I settled on a Synology Diskstation.
The solution
Equipment
2x Seagate IronWolf 8TB NAS Hard Drives
UPS Backup Battery Power Supply
2x Ethernet cable
Set up
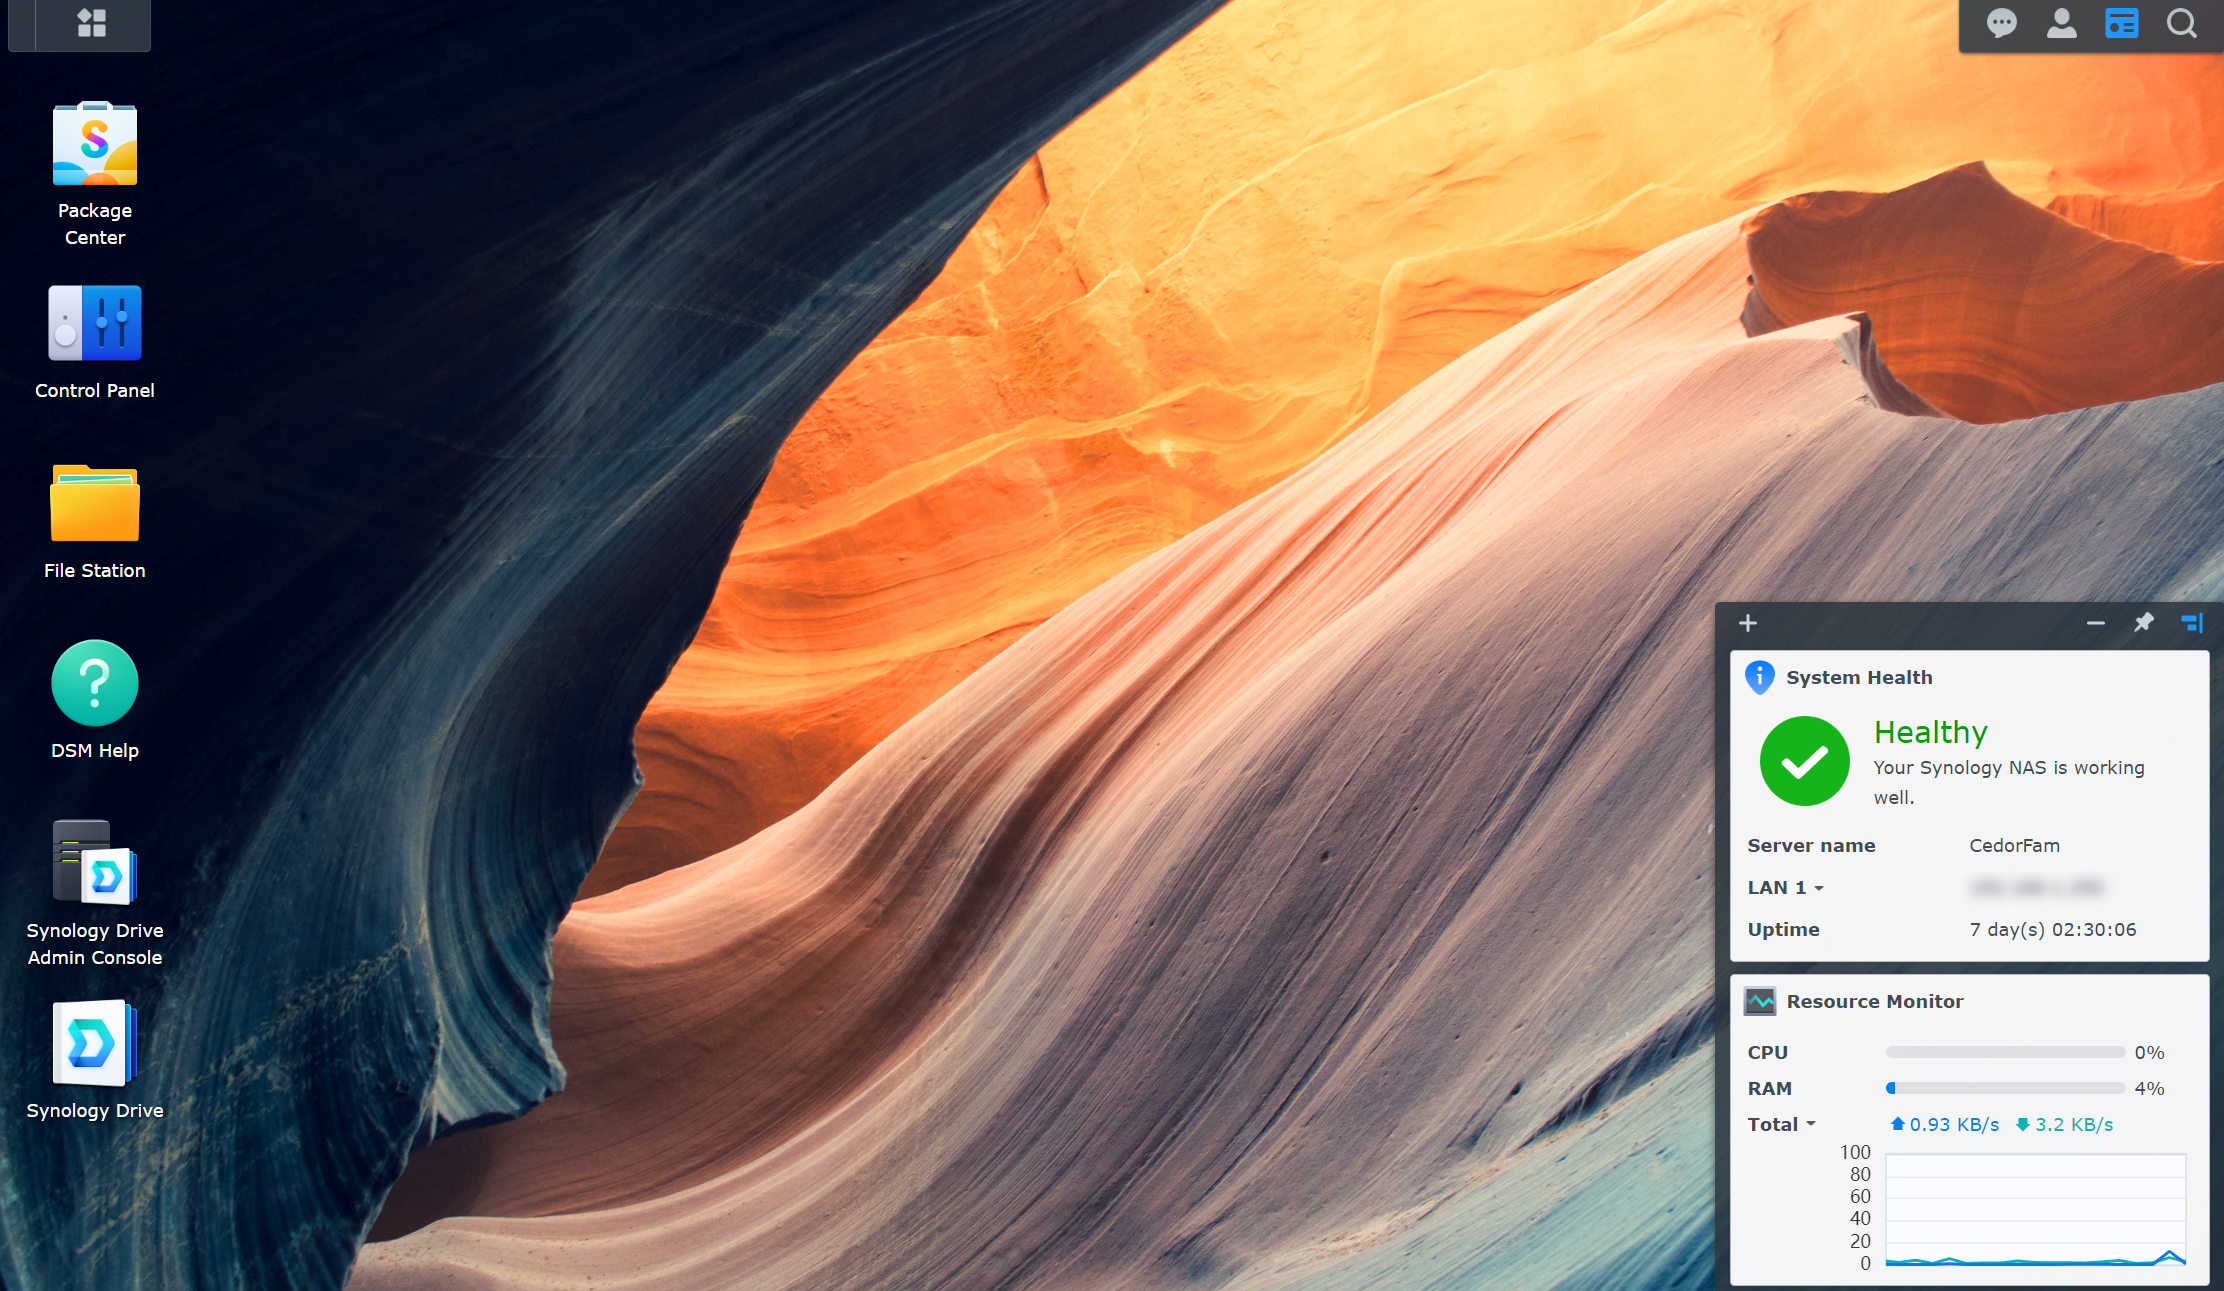
Server set up is made pretty easy by Synology. The first thing people online recommended was to upgrade the RAM which would help handle concurrent users on the server so I unscrewed a few screws on the back and popped in the new RAM stick. The next thing was to add the NAS drives which they slid in nicely to the bay. Next, I added 2 ethernet cables to provide network fault tolerance. Finally, I just had to plug it in and boot it up.
Once booted up and required updates were ran, I had to set up the storage pool/volume which just entailed going through the prompts, selecting both drives to allocate, and selecting the RAID type. After that all that was left to do was set up shared folders, additional users, and what those users should be able to access on the server.
Final Product
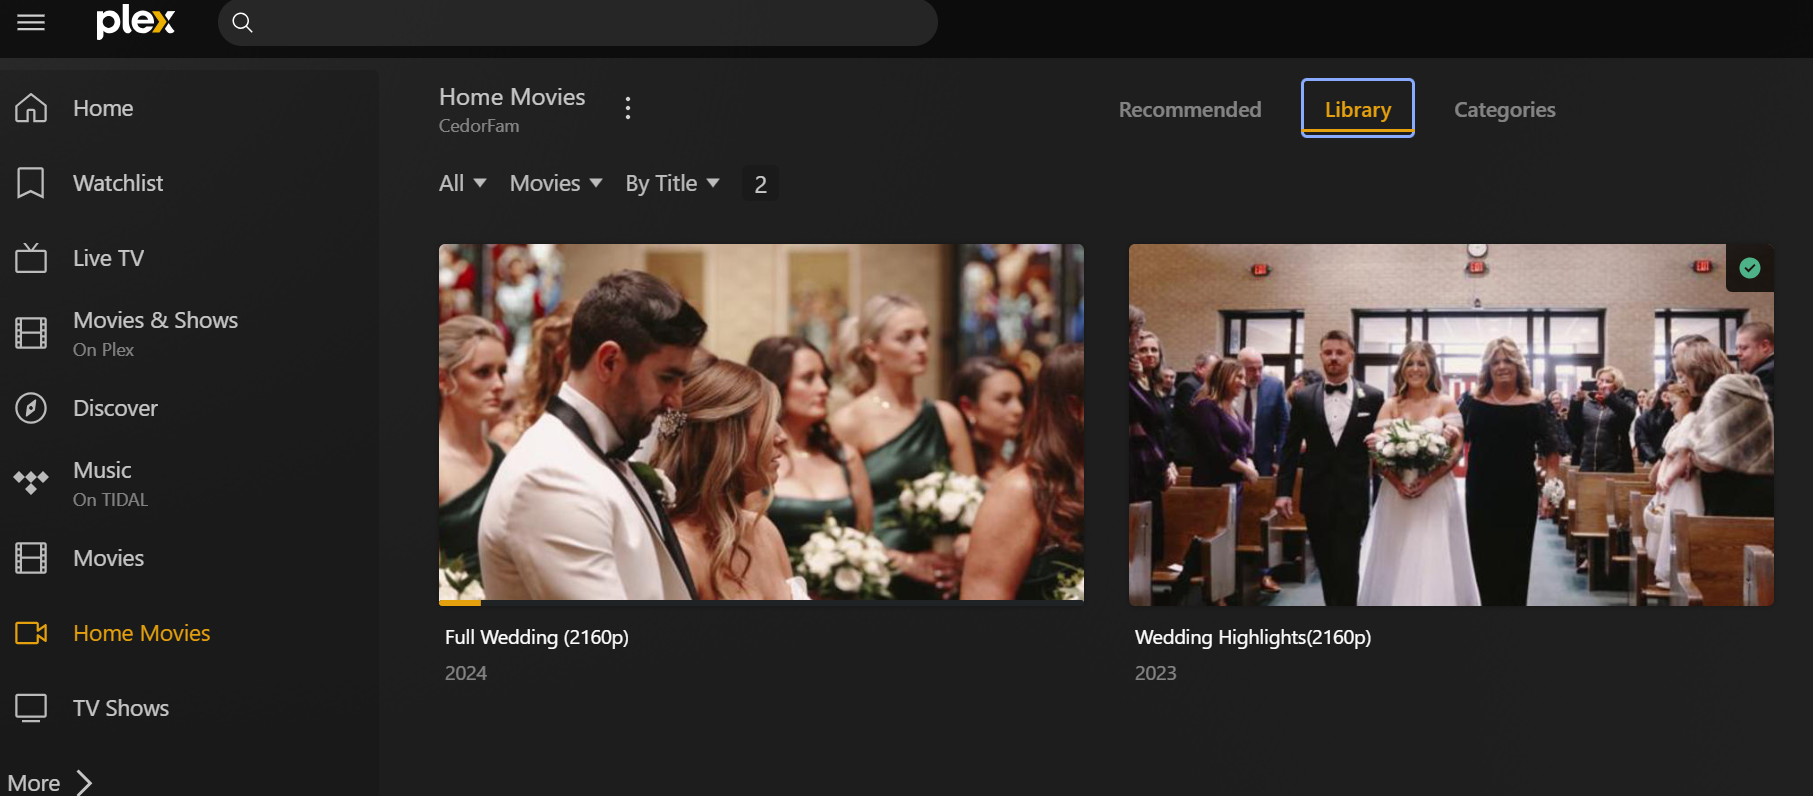
I was then able to use the server to set up a Plex Media Server that could house all our media and (with the paid membership) make that media accessible from anywhere. All family members have to do is log in to plex.tv or download the app on their TV or phone. They then will be able to access any uploaded videos (like our wedding video):
 That’s all there is to it!
Project evolution
Since the original implementation, the project has grown a bit as it now serves as a master backup of important documents and pictures for me and my wife, with the idea being that there shouldn’t be a single point of failure for these important files.
Since a server is intended to be run all the time, any interruptions in power to the server could result in data loss. To combat this, I bought a Uninterruptible Power Supply (UPS) backup battery. How this works is that the battery is plugged into an outlet and the server is plugged into the backup battery. If power is cut to that battery, then the backup battery takes over. When this happens, I’ll get an email like the following:

Then I’ve configured the server to enter a safe shut down process once the battery power goes under 20%. This ensures that data will not be lost.
Next Steps
-
Add 2 more NAS Drives to use all 4 bays available.
-
Digitize the whole library of home videos. The process for this has been simplified, but it still is tedious. I will have to get a converter like this one from Amazon and then basically go through the whole video. As you can imagine, with cassettes back then being able to record at least an hour of footage and there being 50+ tapes, this could take awhile.
-
Use the server as a surveillance station. This would involve getting some cameras and configuring them to use the server as a storage and monitoring system.
